Step 1: Negotiation & Length Determination
Effective root canal negotiation is the foundation of successful endodontic treatment. Begin with hand files (typically #8 or #10 K-files) to gently explore the canal and create a smooth, reproducible glide path.
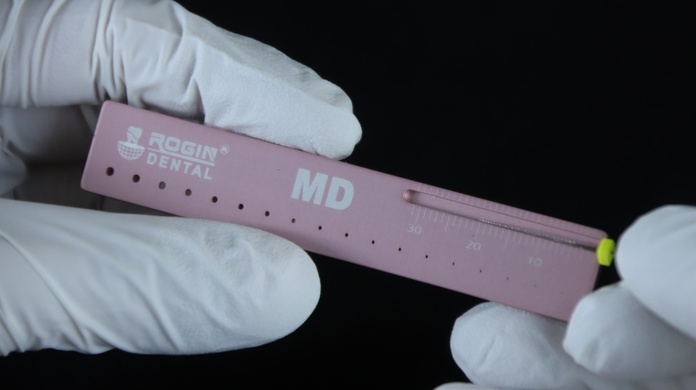
Once the canal is negotiable to the apex, determine the accurate working length using an electronic apex locator combined with a radiograph for confirmation. Proper length determination prevents over-instrumentation and ensures safe preparation.
Clinical Tip: In calcified or narrow canals, use EDTA gel or solution to help soften calcifications and facilitate initial negotiation. Avoid forcing files — patience here significantly reduces the risk of ledge formation or perforation.
With a confirmed working length and patent glide path, you are ready to move to rotary instrumentation with EZ Shaper Pro.
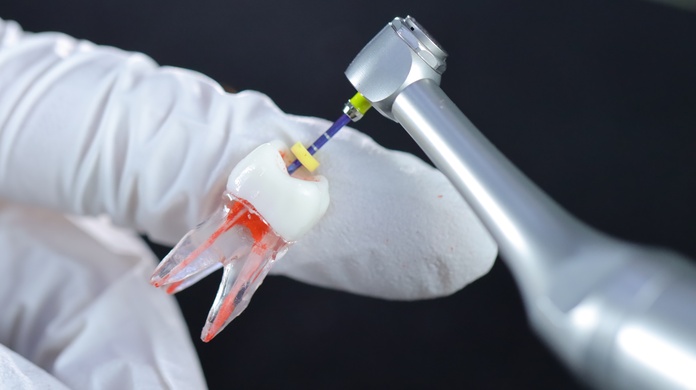
Step 2:Shaping & Cleaning
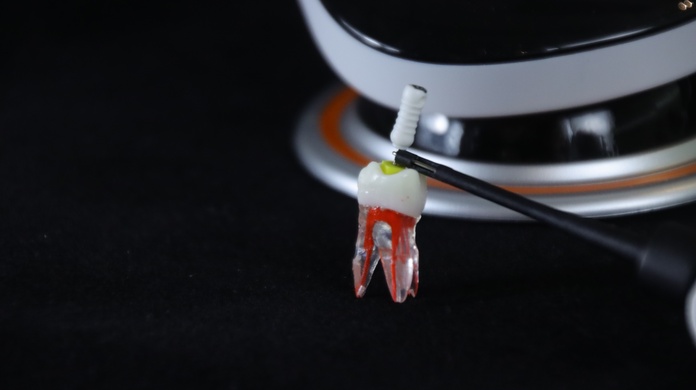
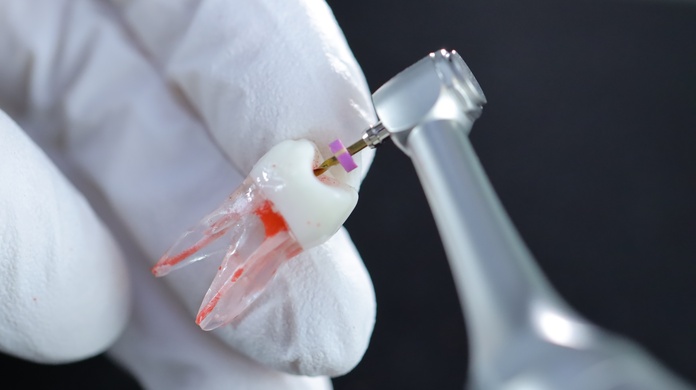
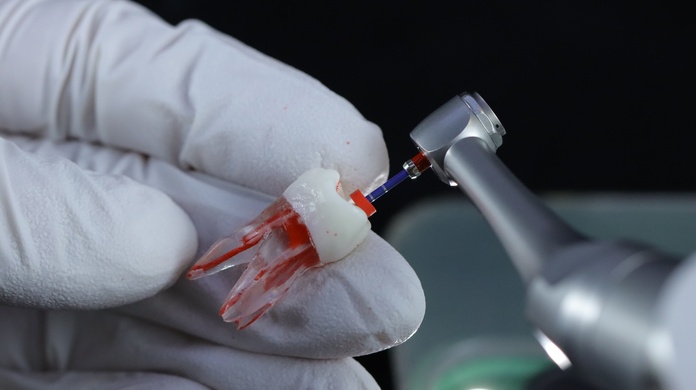
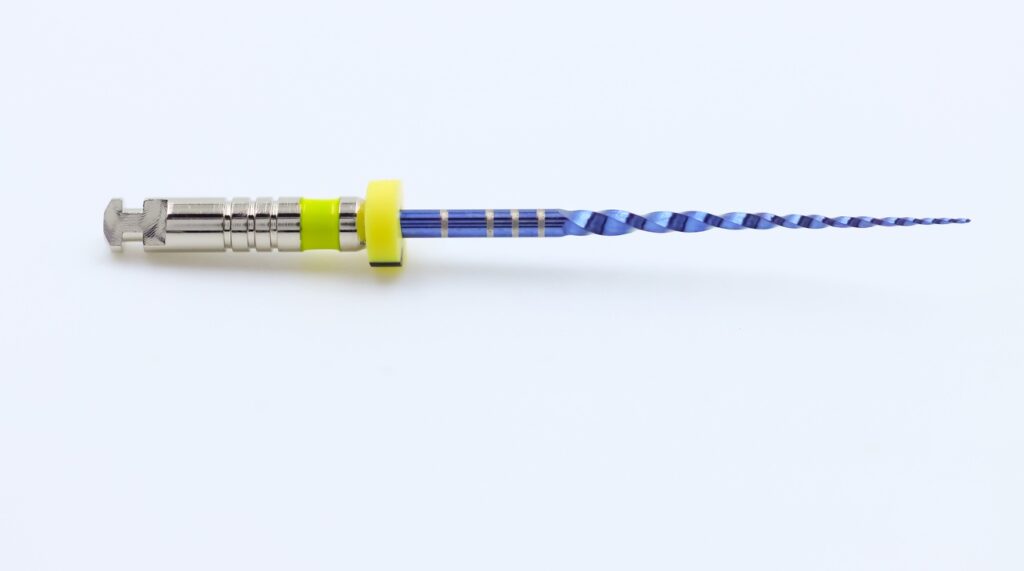
The EZ Shaper Pro rotary system follows a logical, crown-down approach that minimizes dentin removal while delivering excellent debris removal and canal shaping.
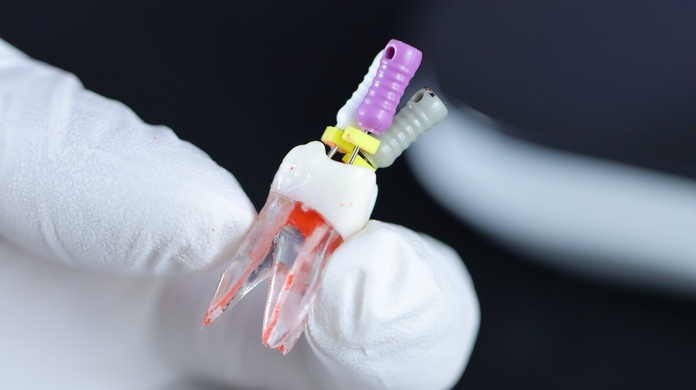
EZX – Coronal Opening
Use the EZX file to perform the initial orifice opening and straight-line access. This creates better visibility and reduces the stress on subsequent files.
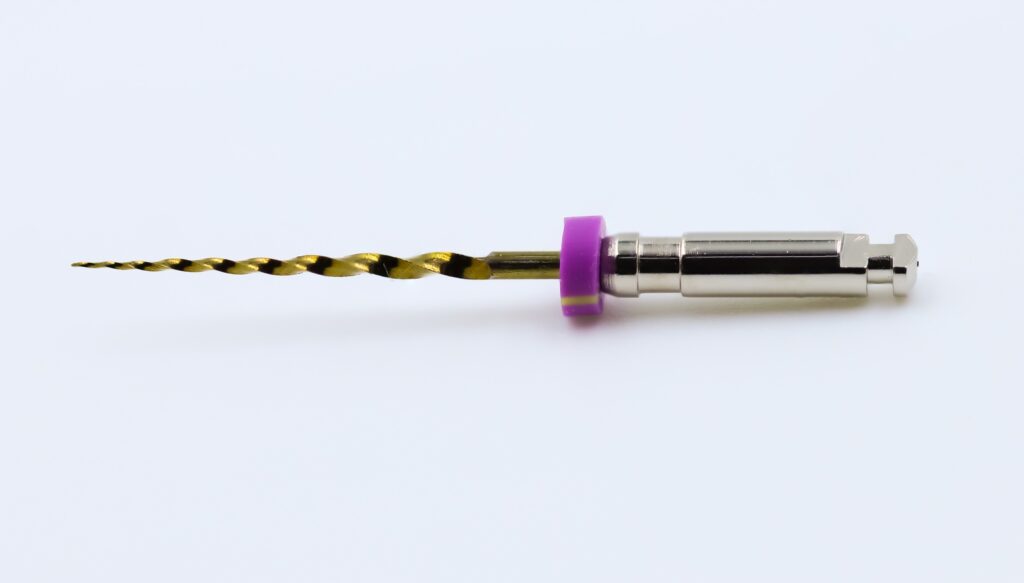
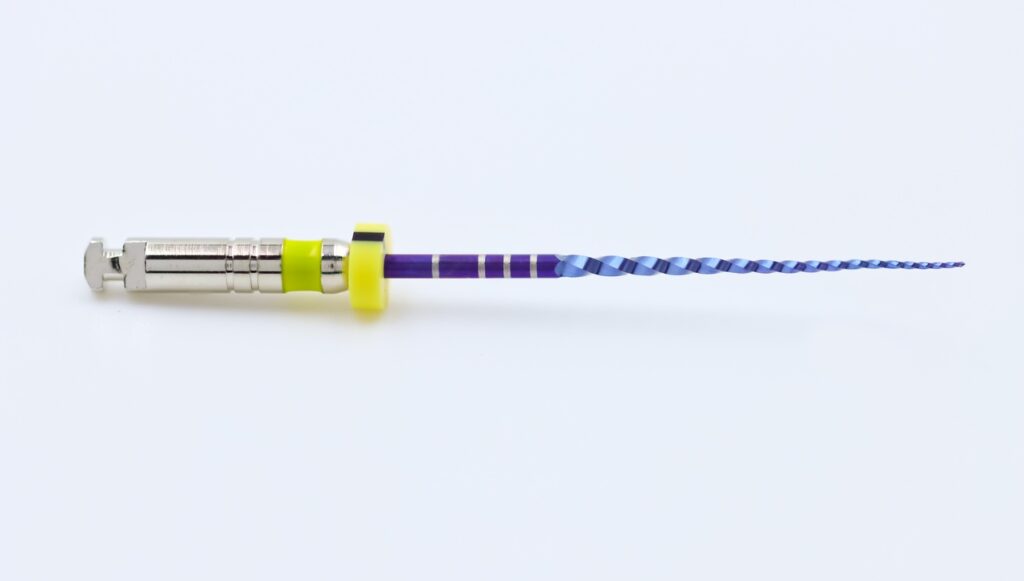
EZ1 – Glide Path Creation
The EZ1 file is specifically designed for establishing a reliable glide path. Its variable taper and advanced heat-treated NiTi properties provide superior flexibility and cutting efficiency, making it ideal for transitioning from manual to rotary instrumentation.
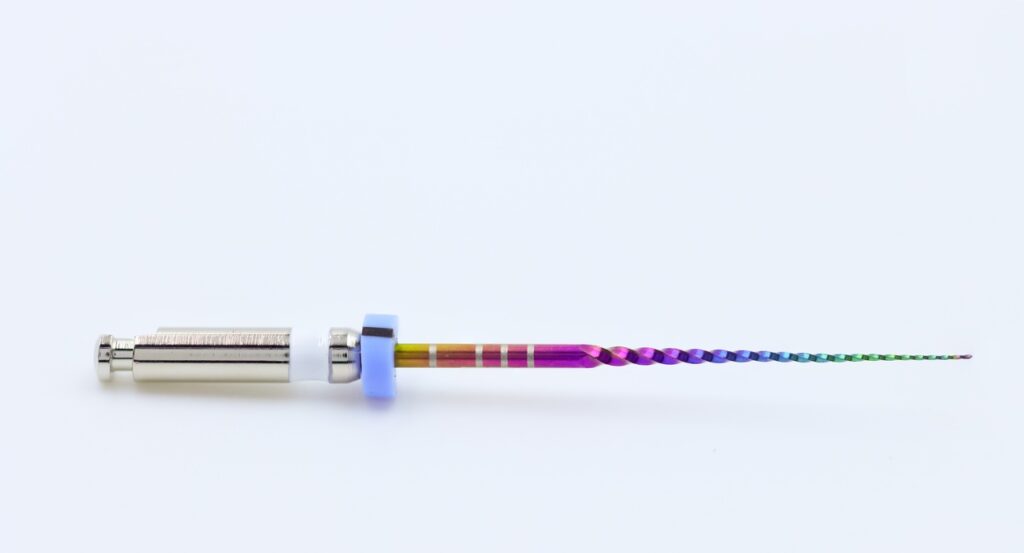
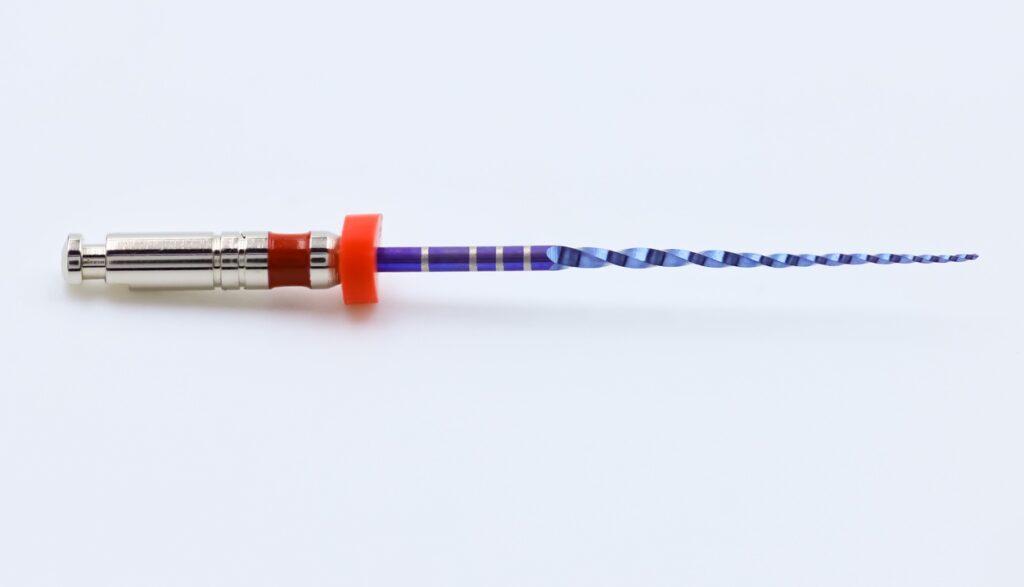
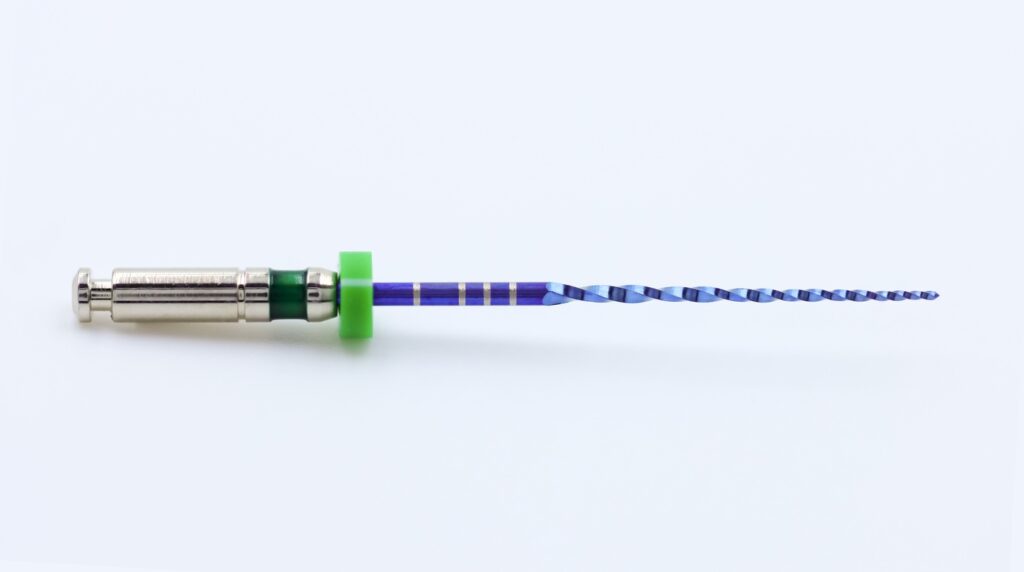
EZ2 & EZ3 – Shaping (Simple Cases)
For straightforward canals, EZ2 and EZ3 files provide efficient shaping with minimal taper. The S-shaped or rectangular cross-sections offer balanced cutting action and excellent debris evacuation.
EZ2 to EZ5 – Shaping (Complicated Cases)
In highly curved root canals or severely calcified canals, progress sequentially from EZ2 through EZ5. This gradual increase in size and taper allows controlled enlargement while maintaining the original canal anatomy and preserving tooth structure — a hallmark of conservative endodontics.
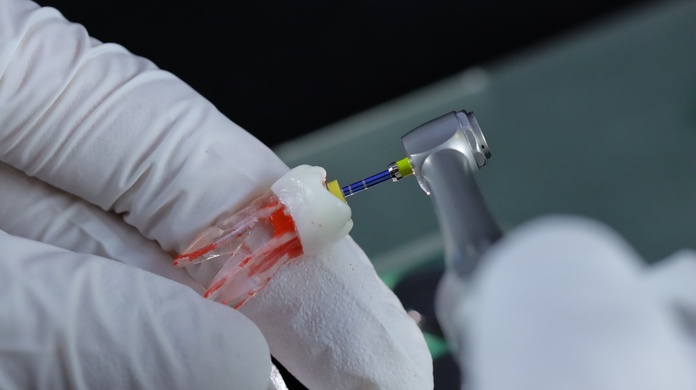
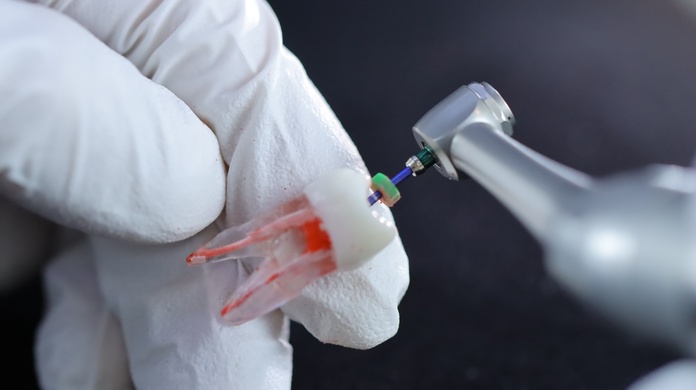
Irrigation Recommendation: Copious irrigation with sodium hypochlorite (NaOCl) between files, combined with EDTA during shaping, ensures thorough cleaning and smear layer removal.
Clinical Tip: Operate at the manufacturer’s recommended speed and torque settings. The heat-treated NiTi alloy in EZ Shaper Pro offers exceptional resistance to cyclic fatigue, giving you greater confidence in difficult anatomies.
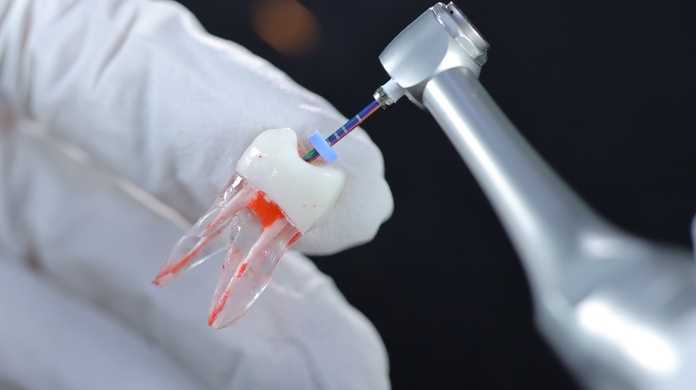
Step 3: Obturation
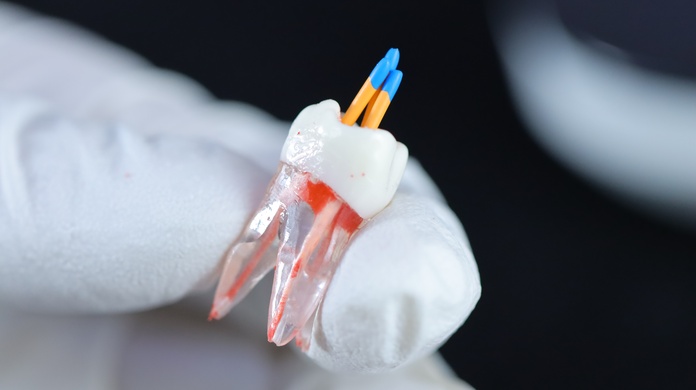
After completing shaping and cleaning, thoroughly dry the canals with paper points. Verify the master cone fit radiographically.
Perform final obturation using the warm vertical compaction technique. This method provides excellent three-dimensional sealing, filling lateral canals and irregularities effectively to prevent reinfection.
Clinical Tip: A good hydraulic seal combined with a high-quality sealer enhances long-term success. Always take a post-obturation radiograph to confirm the quality of the fill.
Why Choose EZ Shaper Pro for Your Practice?
- Conservative Preparation: Wider range of sizes helps preserve natural tooth structure.
- Superior Flexibility: Excellent performance in curved and calcified canals.
- Efficient Workflow: Each file has a clear, dedicated role — reducing chair time and procedural stress.
- Predictable Results: Designed for both simple and complex cases with modern endodontic protocols.
By following this EZ Shaper Pro illustrated guide, clinicians can achieve safe, efficient, and minimally invasive root canal treatment with confidence.